Make a Camera Bean Bag At Home – Step by Step Guide
Tripods do a lovely job with cameras. But sometimes, it’s challenging to set them on some surfaces, especially rocky mountains or unbalanced spots. Moreover, if you are a photographer, you may already know a tripod can not capture ground-level photographs.
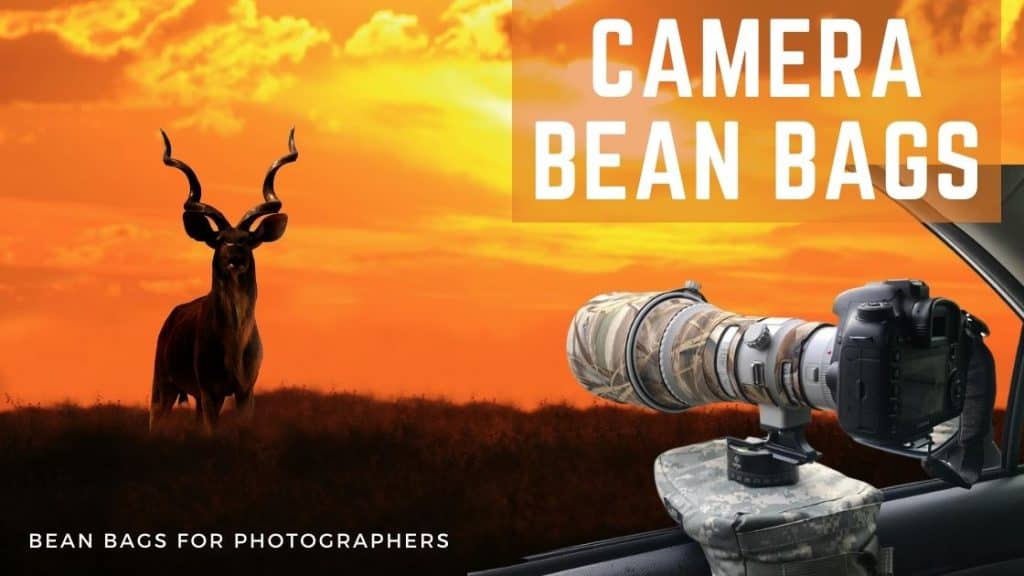
That’s why they search camera bean bags to settle down their lenses. A camera bean bag is ideal for stabilizing your camera lenses while capturing shots. Also, it is perfectly working with windows photography.
However, instead of spending dollars to buy a new one, you can make a camera bean bag by yourself. Believe me! It will become a fantastic and funny experience. Let’s look at it step by step!
Required Materials to Make a Camera Bean Bag:
- Fabric
- Threads
- Beans
- Needle or Sewing machine
- Scissor
Table of Contents
- Selecting the Materials for Camera Bean Bags
- Making the Camera Bean Bag At Home
- Factors to Consider When Making a Homemade Camera Bean Bag
- Final Words
Selecting the Materials for Camera Bean Bags
Fabric
You can not use every fabric to make a camera bean bag. So, when choosing a camera bean bag, ensure the below factors.
Water-Resistance Ability
This factor is vital for camera bean bags. Thus, you cannot predict the weather while you are going to take wildlife photographs.
It can be a misty, rainy day. Or else you want to go for riverside photography. So, your bean bag fabric should have the ability to withstand moist environments.
Fabric Color
What kind of color do you select to wear when going for a wildlife photography tour? If you go to a greenish environment, you should wear green clothes.
If not, suppose you to take shots on rocky ground; you should wear the relatively same color. Especially if you are a wildlife photographer, You should highly consider the color of your costume and other accessories.
Do you ever see any wildlife photographer wear red, blue, or yellow colors?
That is because they are noticeable to wild animals. So, if they feel a threat, they will move and escape. Also, dangerous animals can quickly identify you with light colors. It can be a life threat to you.
So, color selection is an important task. That’s why most photographers select dull colors.
Here, you can select the following colors to prepare the camera bean bag. This should match your destination.
For example, if you are going to capture photos of the rainforest, use green camouflage to prepare a bean bag. Or else, if you are going to the polar region, select blue camo.
Always keep in mind to choose colors that are abundant in the environment.
- Green camo
- Desert camo
- Arctic camo
- Blue camo
- Realtree
- Green camo
- Black
- Green
- Brown
Camera Bean Bag Fillers
You can fill your camera bean bag with expanded polyester beads (EPS balls), cotton, rice, or beans. However, I recommend using EPS balls to use. Because they are water-resistant and have good durability thus, it is ideal for outdoor usages.
Now you know the main accessories that need to make a camera bean bag. So, collect them and follow these steps. It is easy! You can finish this task within 30 minutes to one hour.
Making the Camera Bean Bag At Home
Make a Camera Bean Bag From Scratch
We will interconnect two bean bags to create an “H” shape bag. This H shape allows you to put your bean bag over a car door. The connecting upper part helps to hold the camera lens.
Step 1: Take the fabric and cut 2 square shape parts.
The Height x Width measurements should be 1 x 1.5 Ft. You can increase or reduce the size according to your preference.
Step 2: Roll up the fabric.
Now you may get a cylindrical shape. Leave 1 cm from both edges for sewing purposes. Do the same process for both fabric parts. Here, you can use pins to keep both edges together.
Step 3: Sew the fabric to create a cylindrical shape design.
You can do this task manually or using the sewing machine. Just finish this step; you may receive two cylindrical shape designs.
Step 4: Placed open edge of the cylinder on other fabric and mark its perimeter/ border.
To create an enclosed sac, you may need two circular shape fabrics. So, after you roll up the fabric, you can mark its perimeter and draw a circle according to it.
Then allow two centimeters for sewing purposes and cut that circular fabric piece. However, there is another method to identify the exact size of this circular design, and you can use the 2πr equation.
Here;
2πr = 1.5 feet or 45 centimeters
2 x 3.14 x r = 45
R = 7 cm
So, you can draw a circle with a 7 cm radius. Then allow another 2 cm from the edges for sewing. After that, cut the circle shape. To enclose two cylinders, you need four circles.
Step 5: Sew the circle on the one open edge of both cylindrical designs.
To get an excellent finish, insert the corners of the circle into the cylinder.
Step 6: Add bean bag fillers into these sacs.
Fill it loosely. Do not try to compact beans and fill extra spaces. The empty spaces are essential to adjust the bean bag with camera angles and positions.
Step 7: Enclose the opening.
In this step, you can sew the circular shape fabric manually. Now you have separate cylindrical shape sacs. These are the two wings of your camera bean bag. Now you have to attach them.
Step 8: Joined one edge of these sacs together.
Here, you should need one free end. These are the supportive wings that withstand the car door. Also, another end should be attached.
So, you can sew other ends together. If not, use gum specially designed for certain fabrics to join them together.
Other than these two methods, there is one additional method. Can you guess? You can use a narrow fabric belt to keep these sacs together.
Step 9: Done.
We are almost done. Now you have a unique homemade bean bag. Fantastic!
Make a Camera Bean Bag Using an Old Denim or Trouser
There are different types of ways to do the same task. This is also like that. Did you look for a straightforward method to create a camera bean bag?
If not, do you want to make a camera bean bag quickly? Then try this method.
You can finish the whole task within 20-30 minutes. Rather than the time, you have to spend a lot of dollars on extra fabrics.
However, the denim and trousers are not water-resistant. It is a drawback. Because of that, you can not use this bean bag in wet weather conditions. But the good news is, you can use this in summer without any fear!
Follow these steps.
Step 1: Take old denim trousers that are enough for your task.
Step 2: Draw a line below the 1 foot from the hip area.
If you want to make shorts from your old denim, you may cut the long legs after following the same process. Here, you have to create 1 foot long shorts.
Step 3: Cut the denim from that line.
Step 4: Enclose the openings by using the same fabric.
You can use the steps I mentioned in step 4 of the first method. Cut the fabrics that match the area of the opening.
Here, you can cut a single fabric piece to the hip area of the denim. Also, you do not need to attach two wings in this method. It already exists!
Step 5: Sew the circular fabrics to the denim trouser.
When sewing, allow space to add bean bag fillers into it.
Step 6: Enclose the whole bean bag.
Now all of the works are finished. You can carry your bean bag for your next journey!
However, if you want to add and remove beans, you can add a small zipper to your bean bag. If your denim already has a properly working zipper, you can use it.
Filling beans using that zipper is a bit time-consuming. Thus, it is better to sew the zipper on one wing of this camera bean bag.
Factors to Consider When Making a Homemade Camera Bean Bag
- If you feel adding beans directly into the camera bean bag is not safe, first create an inner bag. Then add beans into it and insert them into the bean bag cover.
- If you use raw beans, check your traveling country allowed to carry them. If not, you may have to throw your whole bean bag into the airport dustbin.
Final Words
These are the simplest method to create a camera bean bag at home. According to your resources, you can try the best one. Also, you can customize your camera bean bag with your favorite color and designs. Why are you waiting? Try it and let me know your achievement!